Let's get started!
The hand tools you’ll need to install Willow Creek pavers are available at your local hardware store. Power tools can be rented at most equipment rental stores. Your Willow Creek Paving Stones distributor will be able to help you with all of your paver components. Download the Willow Creek Paver Resource and Installation Guide.
To calculate materials needed for your project, download the Willow Creek Paving Stones Project Calculator.
HAND TOOLS YOU’LL FIND HELPFUL
- Tape measure
- Spray paint to mark project area
- Shovel
- Wheelbarrow
- Hand tamper
- Wooden stakes and transit or string level to mark grade
- Mallet
- Knife or heavy scissors
(for cutting underlayment fabric) - Hard-tooth rake
- Hand saw (to cut edge restraint)
- 4-foot hand level
- Screed guides
(1" O.D. iron pipe) - Screed board (2" x 4" long enough
to span screed guides) - Masonry trowel
- Mason’s string line
- Wide-blade mason’s chisel
- Stiff-bristle push broom
POWER TOOLS YOU MAY NEED TO RENT
- Vibrating plate compactor
- Masonry saw with diamond-tip blade
PAVING STONE COMPONENTS
- Willow Creek pavers
- Aggregate base material
3/4-inch crushed stone (including finer particles) typically used for road base. - Bedding sand
Coarse, washed sand suitable for masonry. - Edge restraints with 3/8” x 10” landscape spikes
- Joint sand
Dry, washed sand, free of large aggregate that would prevent it from freely flowing into joints. Polymeric joint sand may be used to prevent loss due to water or erosion. - Willow Creek Paving Stones Underlayment Fabric (if necessary)
- Paving-stone sealant (optional)
Step 1 - Excavating
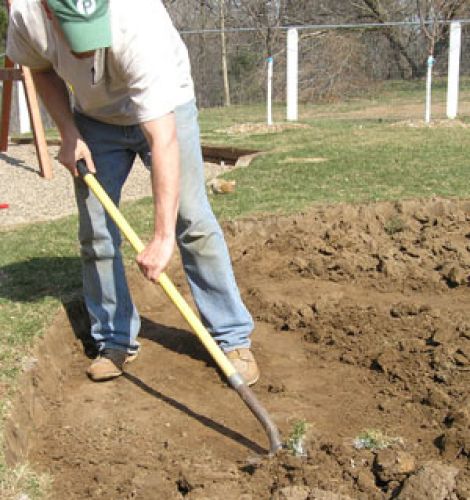
Call 8-1-1 to identify underground cables/pipes in or near the area. Mark the project perimeter with spray paint. Excavate beyond the perimeter by a distance equal to the depth of the required base (see overbase in cross section on back cover).
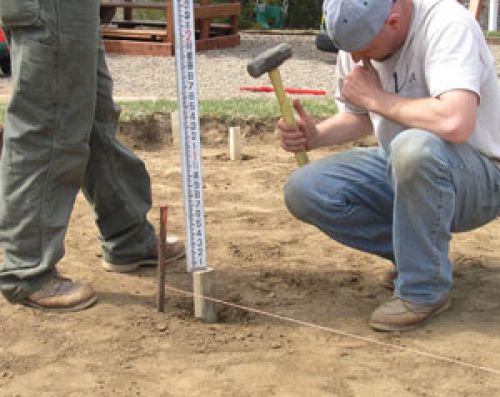
Then continue excavating until the total depth equals the required compacted base (4"-6" for foot traffic or 10"-12" for vehicular traffic) plus the 1" of bedding sand and the thickness of the pavers. Final grade should slope away from building foundation by a minimum 1/8" per foot for proper drainage.
Willow Creek Underlayment Fabric is recommended under the aggregate base for some soil conditions, such as poorly drained clay or silt. It keeps the soil sub-base and aggregate base separate to prevent mixing of soil and aggregate, which would weaken the base. Place fabric on the excavated area and up the sides

.
Step 2 - Compacting Aggregate Base
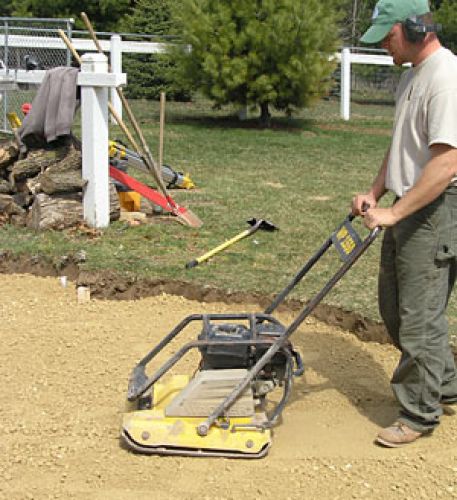
Use a tamper or vibrating plate compactor to compact loose soil in the excavated area. Install a string line and pound several wooden grade stakes along it, so that the top of the stakes will be level with the top of the base material.
Place and compact uniform aggregate base layers in the excavated area until the required depth and slope are achieved. Use a plate compactor for best results. Before compacting, slightly moisten dry aggregate base material and compact in layers of no more than 4". Start compacting at the perimeter and work toward the center, overlapping each previous pass. Make at least two passes for a smooth base.
Step 3 - Setting Screed Guides
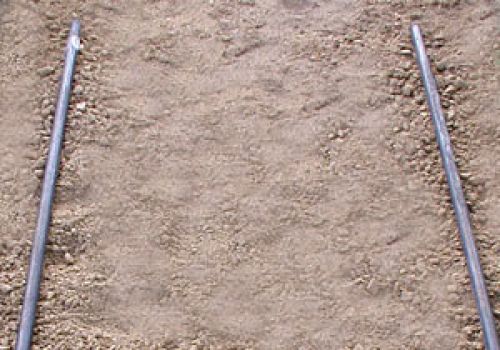
Set 1" (OD) screed rails on the wooden grade stakes, which should be placed parallel and spaced apart less than the length of your screed tool. Then check grade so that the top of the rails will be level with the top of the bedding sand and determine the slope of the paver surface.
Step 4 - Installing Edge Restraints
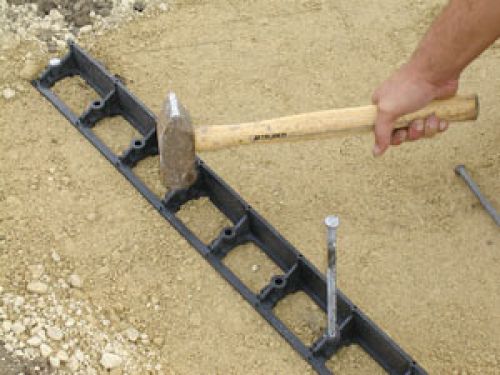
Prior to spreading bedding sand, install edge restraints on top of the aggregate base on all unrestrained edges of the project to prevent paver shift and ensure interlock. Edging should be installed on one or two sides of the project. (After spreading and screeding the bedding sand, start placing pavers along the longest straight edge. After all pavers are laid, install the remaining edging.) Install edging by starting at one end and drive the first spike into the edge restraint connector. Continue to drive spikes at no less than 18” intervals. Lay the next section of edge restraint; then drive another spike into this connector. Continue to drive spikes at intervals of no less than 18”. Edge restraint ribs can be cut to allow bending of the restraints for curved edges.
Note: Circlestone has concentric rings of pavers placed around a center unit. After installing all Circlestone, place restraints around the perimeter. For more information, download the Circlestone Estimating Guide.
Step 5 - Screeding Sand Bed
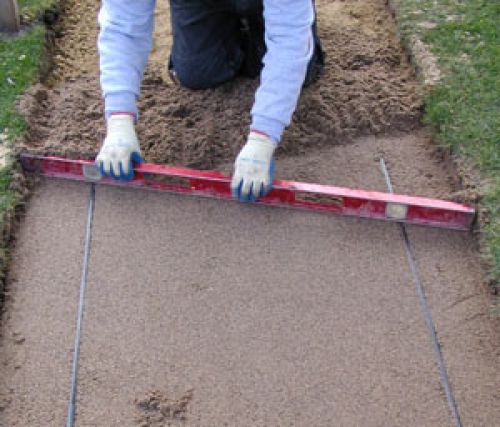
Spread sand around and between the rails to form the bedding course. Screed the sand by pulling a straight-edge across the top of the rails, and then remove the rails. Fill and level the voids left by the rails.
Step 6 - Laying Paving Stones
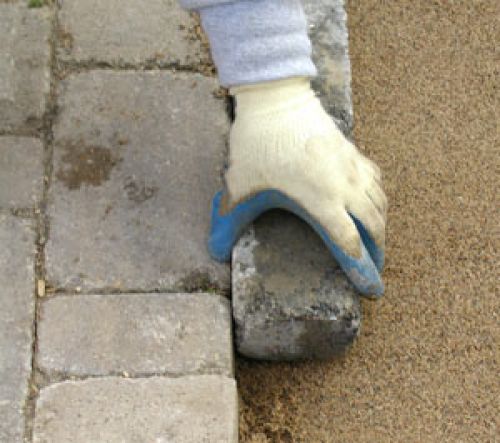
Lay the first pavers against the longest straight section (building foundation or edge restraint). Select pavers at random from different pallets for good color distribution. If possible, start at the low end of the slope and work uphill to prevent shifting.
Use string lines to keep rows straight. Set the pavers carefully into the sand next to each other; do not press or hammer them. The spacer bars on the pavers will ensure proper spacing. Continue adding pavers until project is complete.
Note: When installing Circlestone, mark the center of the project area and begin laying paving stones in concentric circles from the center outward. See the diagram in the Circlestone Estimating Guide for proper placement of Circlestone components.
Step 7 - Cutting Paving Stones
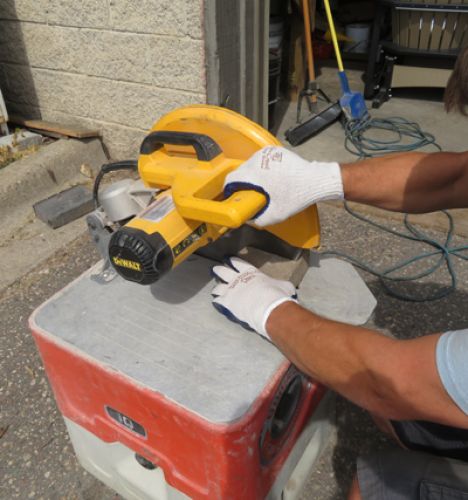
Pavers can be cut for curves, corners and angles, to go around objects or fill gaps in patterns. For best results, mark and then cut using a saw equipped with a diamond-tip blade. A guillotine splitter or mallet/chisel also may be used. Where gaps are less than 3/8", it is acceptable to fill with joint sand.
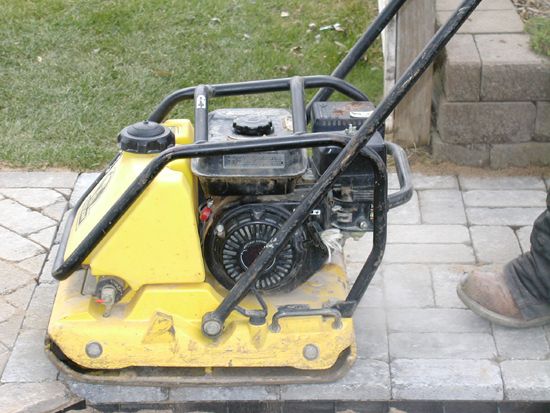
Step 8 - Compacting the Paving Stones
Finish installation of edge restraints. Then sweep the surface to remove debris. Starting on the perimeter and working towards the center, make two surface passes with the plate compactor to embed pavers into the sand. Make final adjustments in alignment or leveling at this time.
IMPORTANT: Willow Creek strongly recommends the use of a protective pad between the compactor plate and paver surface. Pavers with textured surfaces (high and low points) are more susceptible to scuffing. Willow Creek is not responsible for compaction scuffs.
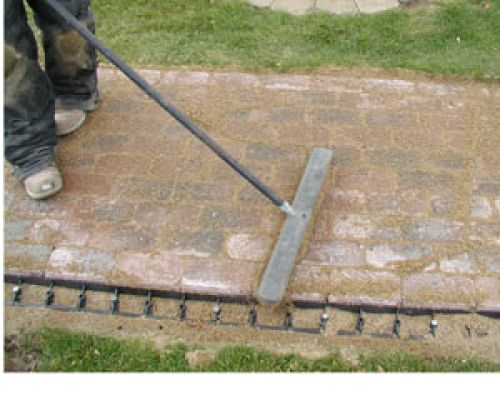
Step 9 - Joint Sand
Sweep dry joint sand over the pavers, working it into the joints with a push broom. When desired, use polymeric sand to prevent loss due to water or erosion and to inhibit weeds. Install polymeric sand per manufacturer's instructions. After joint sand is worked into the joints, make at least two more passes over the finished installation with a plate compactor. Make the second pass at an angle to the first. This will level the surface, firmly set pavers into the bedding sand, and force joint sand into the joints for proper interlock. Sweep off excess sand.
*Use dry, washed sand, which meets ASTM C14 and is no less than 30% 1/8th inch particles. Polymeric joint sand may be used to prevent loss due to water or erosion. See manufacturer’s instructions when using.
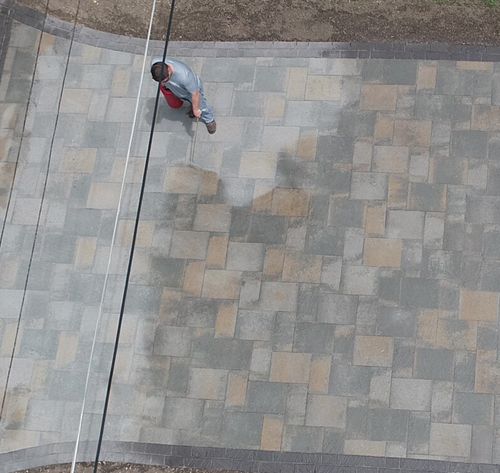
Step 10 - Sealant (Optional)
A sealant may be applied to the finished surface to protect paving stones against stains, enhance color and stabilize joint sand. Sealants are available from your Willow Creek Paving Stones distributor. Watch the sealer demonstration video below.